How to Track Billable Hours in Quickbooks Desktop
Advertiser Disclosure: Our unbiased reviews and content are supported in part by affiliate partnerships, and we adhere to strict guidelines to preserve editorial integrity.

There are a lot of great time tracking applications in the world, but one of the best things about QuickBooks Pro is that you can do all of your time tracking directly within the software. No more confusing Excel sheets, lost paystubs, or expensive third-party integrations!
We'll teach you how to track time and create timesheets using your QuickBooks Pro software in a few easy-to-follow steps.
Before you keep reading, make sure all of your employees, customers, and projects are properly added to QuickBooks. Take a look at these posts to learn how…
- How To Add Employees In QuickBooks Pro
- How To Add Customers In QuickBooks Pro
- How To Create Projects In QuickBooks Pro
…or jump straight into time tracking with these step-by-step instructions.
How To Enter Time In QuickBooks
To enter time into QuickBooks Pro, begin by going to Customers>Enter Time>Time/Enter Single Activity.
Step 1: Choose Date
Choose the date for the hours you wish to track using the drop-down calendar.
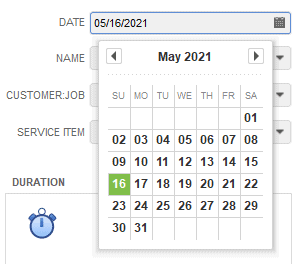
Step 2: Select Employee
Select the proper employee for the hours worked.
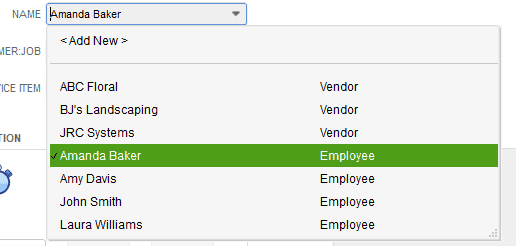
When you click on an employee, you'll receive this popup message.
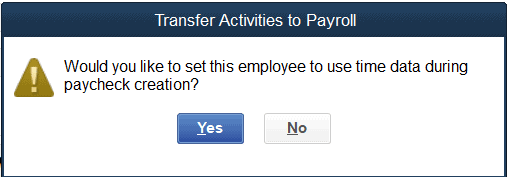
Click "Yes" if you want the hours you enter to automatically be added to your employee's payroll timesheet.
Step 3: Select Customer Or Job
Use the drop-down menu to select the customer or job attached to these hours.
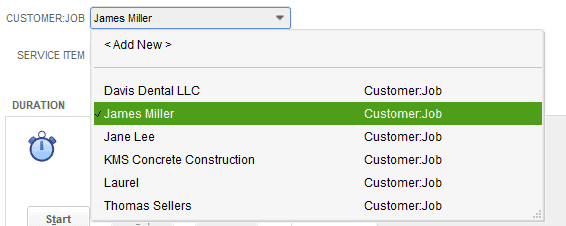
Step 4: Choose Service Item
Use the drop-down menu to select the service item performed for your customer or job during these hours. If you haven't added any services yet, read our How To Add Items In QuickBooks Pro post where we cover how to add service items.

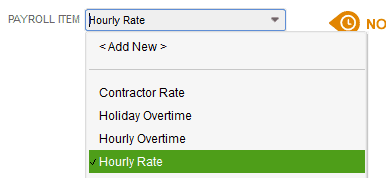
Step 5: Choose Payroll Item
Select a payroll item. If you haven't created payroll items yet, refer to our How To Add An Employee In QuickBooks Pro post where we cover payroll items in detail.
The payroll selections available will depend on how your company is set up, but here are the payroll items we had to choose from as an example:
- Contractor rate
- Holiday overtime
- Hourly overtime
- Hourly rate
- Starting hourly rate
Step 6: Enter Time
To enter time, you can manually type in the amount of time worked, or you can use the built-in timer to track your hours while you're working.
Step 7: Add Notes (Optional)
You and your employees can add optional notes about the hours worked.

Step 8: Mark As Billable
Mark whether the hours are billable or unbillable using the box in the top right-hand corner.
![]()
Step 9: Save Time Entry
To record your time, click "Save & Close." Click "Save & New" if you're planning on making another time entry.
![]()
How To Create A Timesheet In QuickBooks
To edit a timesheet in QuickBooks Pro, begin by going to Customers>Enter Time>Edit Weekly Timesheet.
Step 1: Select Employee
Select the proper employee for the hours worked.
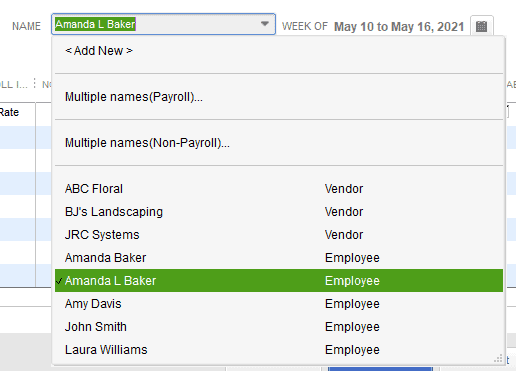
Step 2: Choose Work Week
Choose the proper work week dates using the calendar icon.

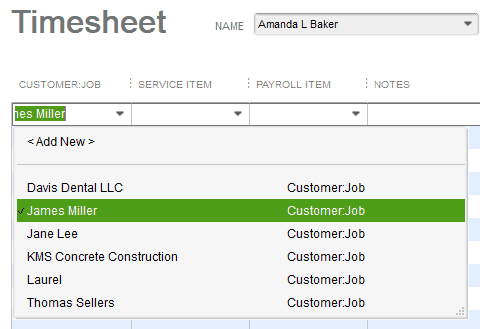
Step 3: Select Customer Or Job
Use the drop-down menu to select the customer or job attached to these hours. If multiple projects are being worked on in a single timesheet, use one line each per customer or project.
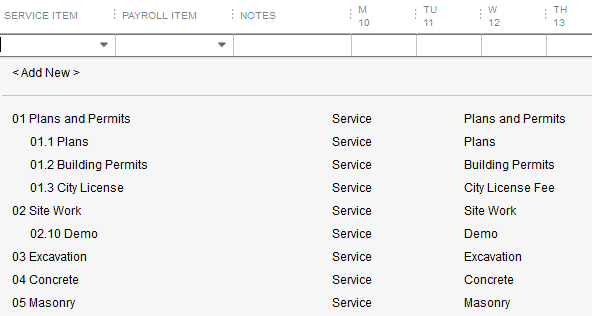
Step 4: Choose Service Item
Use the drop-down menu to select the service item performed for your customer or job during these hours. If you haven't added any services yet, read our How To Add Items In QuickBooks Pro post where we cover how to add service items.
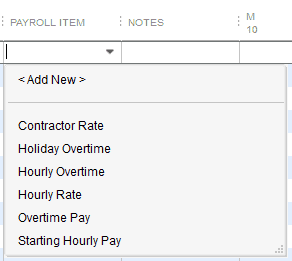
Step 5: Choose Payroll Item
Use the drop-down menu to select the service item performed for your customer or job during these hours. If you haven't added any services yet, read our How To Add Items In QuickBooks Pro post where we cover how to add service items.
Step 6: Enter Daily Hours
Enter the hours worked each day of the week. (Use the format 0:00 for entering exact hours and minutes; use the format 0.00 if you want QuickBooks to automatically change a decimal into hours and minutes.)

Step 7: Verify Total Hours
QuickBooks automatically totals the hours worked, but be sure to double-check that the amount looks correct.

Step 8: Mark As Billable
Mark whether the hours are billable or unbillable using the box in the top right-hand corner.

Step 9: Save Timesheet
To save your timesheet, click "Save & Close." Click "Save & New" if you're planning on adding another timesheet.
![]()
You can now print timesheets or run multiple time-related reports like Time by Job Summary, Time by Job Detail, or Time by Item.
If you have any troubleshooting issues, check out the QuickBooks Community or call QuickBooks directly. Don't forget to check out the rest of our QuickBooks Desktop Pro 101 Series to learn how to add employees, run payroll, create invoices, and more.
Overwhelmed by QuickBooks Pro? Maybe it's time to switch to QuickBooks Online. QBO is easy to use, cloud-based, and affordable. Best of all, you can easily import your QuickBooks Desktop data into QuickBooks Online.
Outgrown QuickBooks Pro? Switch to QuickBooks Premier. It's the same QuickBooks Desktop software you love but with more users and advanced, industry-specific features.
How to Track Billable Hours in Quickbooks Desktop
Source: https://www.merchantmaverick.com/how-to-track-time-in-quickbooks-pro/
0 Response to "How to Track Billable Hours in Quickbooks Desktop"
Postar um comentário